How does Power Automate help you with document management?

The limitations of working with SharePoint flows
SharePoint Online is one of Microsoft’s solutions for business collaboration. Although it provides fairly robust applications that meet many of the demands your business may have, flow creation falls short of the heights of Power Automate. In the “Out-Of-The-Box” model, only simple flows can be created to optimize and improve work processes with clients. Again, they are so simple that they don’t go any further. They serve for what they are designed for, without further adjustment possible.
More and more companies and workers need more and more personal workflows and responses that have multiple conditions and participants. For this reason, the workflows of the future (and the present) must be much more complex.
Take, for example, that you need a flow that connects your CRM, templates, electronic signature and your contacts and customers. In this case, a SharePoint flow will not be enough and you will have to integrate it together with Automate.
But what is Power Platform?
Last month we wrote about Dynamics 365 and discussed the highlights of Power Platform, Microsoft’s new suite. Basically, it is made up of a new set of tools to take business collaboration and customer experience further.
Chris Wanstrath, one of the founders of GitHub, commented that “the future of code is not writing code,” and he may be right. Microsoft is one of the companies that has bet the most on the development of apps with low or no code, facilitating the complicated world of programming for those who do not have the time or budget.
This is the origin of the Power Platform, which is integrated into Office 365. It allows, among other things, to create work applications, synchronize data and its analysis and create productive workflows, all with an interface and settings aimed at writing the smallest possible code.
Flows with Power Automate
One of the new capabilities that the platform brings is Power Automate, designed to create, adjust and edit new and existing workflows. A cloud-based service (of course) that uses a simple interface to use and check tasks.
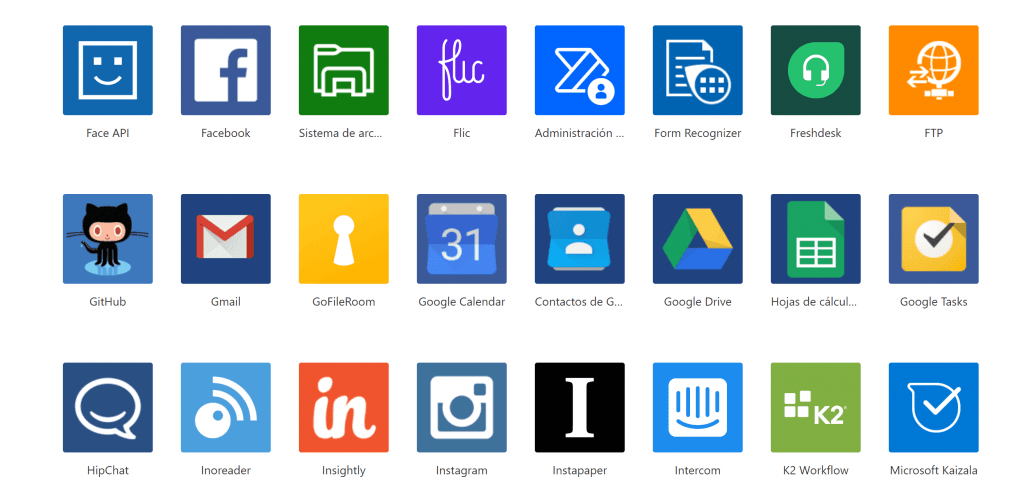
The app comes standard with a multitude of “Ready to use” templates that make life easier for novices and professionals alike. But, without a doubt, its biggest advantage is the ability to connect with hundreds and hundreds of services internal and external to Microsoft. We leave you some of its connectors here.
Why should I optimize my document management with power automate?
Approving documents can be very time consuming and tiring, especially when it comes to paper documents. And let’s not talk about large files, which can block our validation system for more documents. Therefore, we are going to help you create a flow to automate the process, saving time and effort.
Get started by creating a document approval flow in SharePoint Online
To get started, from SharePoint Online you can create an approval process for documents in a specific library. In this way, documents will not be visible to teams until they are approved.
To do this, you have to manage the content approval settings on the library settings page:
- We go into Settings, Version control settings, Require content approval for sent items

Once we enable this setting, when documents are uploaded to the assigned library, the documents awaiting approval have two states:
- Draft (minor and major versions are enabled)
- Pending (only major version is enabled)
Evolve flow with Power Automate
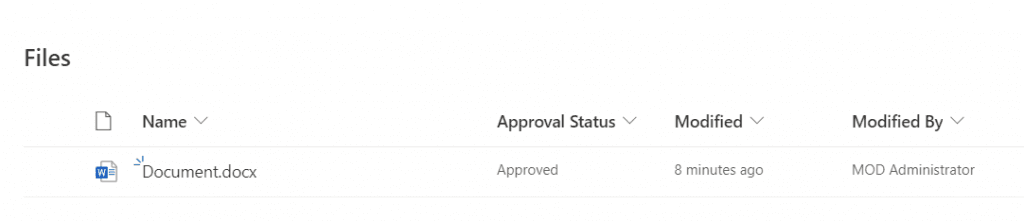
Now, you can automate that entire document approval flow with an approval flow. When a document is approved (or not), the document’s status changes to Approved or Rejected. All thanks to the flow that you can optimize from Automate:
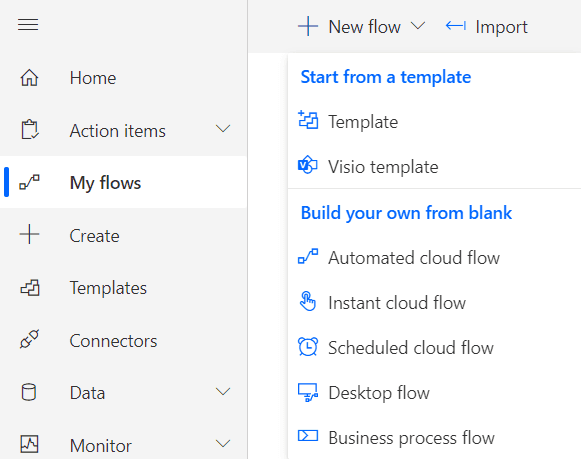
1. Go to https://flow.microsoft.com and go to My Flows, New Flow, Automated Cloud Flow
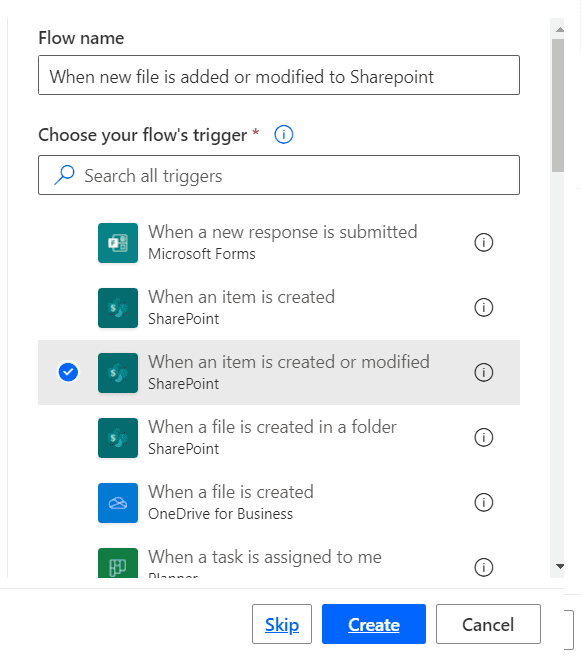
2. Next, use the When an item is created or modified trigger
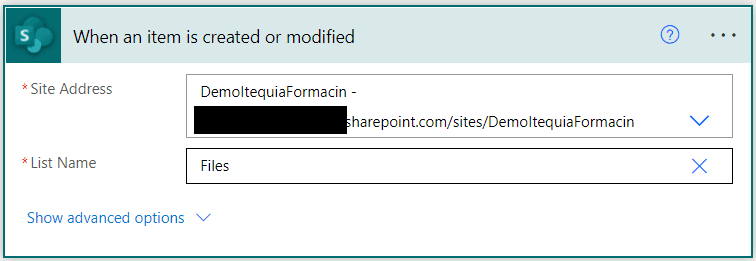
3. Add the address of the library and a name
4. Add a new action after the Start and wait for an approval trigger

5. Select Approval Type (the one you need), and fill in the information to show in the approval request


6. We add an Additional Condition. This action will compare the approver’s responses to the Approve value. This will update the status of the document.

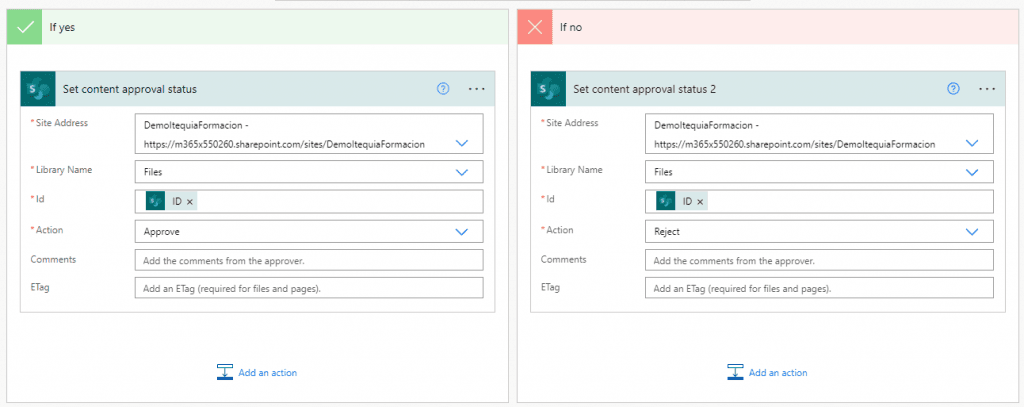
7. We include an action based on the Outcome of the request, with the aim of changing the status of the document so that it is visible or not to the rest of the users.

In the Site Address, we specify the name of the site and choose the document library. Then, we utilize dynamic content to select the ID. Finally, we indicate the approval status in the Action field.
Flow test
To test / run our flow, just follow these steps:
- We add a document in the library that we have assigned to the flow. The Flow will then run automatically and the approval process will start.
2. We head to Outlook. There we will receive a notification for an approval request

3. Clicking on the link, we will access the document and confirm the content. In the email itself, the options Approve and Reject will appear.
Conclusion
In short, workflows help you automate many of the tedious processes that you want to get out of your daily routine. Although SharePoint Online offers relatively useful workflows, they can be very simple. That is why we recommend you “evolve” them with the Power Automate platform.
Consider this guide an introduction to Power Automate approval flows, with which you will be able to take advantage of your routine tasks without having to wait for thousands and thousands of messages from your colleagues and workers to flood you.